


Google Retired its Sign-In JavaScript Platform Library. Here's How to Build a New OAuth Sign-In in React


Google recently announced that they would fully retire their previous Google Sign-In JavaScript Platform Library for web applications in March 31, 2023. Beginning April 30, 2022, or before today, new applications must use their new Google Identity Services library. Until March 31, 2023, applications using the old JavaScript Platform Library will still work but need to be migrated ASAP.
I found this out the hard way. Last night I was helping a friend build this

That's a picture, not a button. Please don't click it :p
However, because Google killed its old JavaScript Platform Library all of the React libraries and tutorials stopped working. Even one from February of 2022, or a few months ago, failed. So I did some digging and found the announcement. Here's how I ended up building a Google OAuth flow (the new way) in React.
But right before we start, if you ever encounter an issue like this again you could save yourself a few hours of experimenting with different React Google OAuth tutorials, StackOverflow posts, and deprecated npm modules and simply ask for help on a platform I'm making called Dialect. I like to think of Dialect as an Uber for programming help. Request help for any programming problem and instantly get connected to a vetted professional to help you figure it out in a video call.

It would really mean a lot to me if you'd be willing to check the site out at dialect.so
Anyways, let's actually start now by building a React App with the create-react-app
npx create-react-app client
As always my final code repo is public and can be found here
Let's go inside that folder cd client and install our necessary packages.
For starters we will be installing this new Google OAuth2 Google Identity Services SDK with the npm module @react-oauth/google with
npm install @react-oauth/google
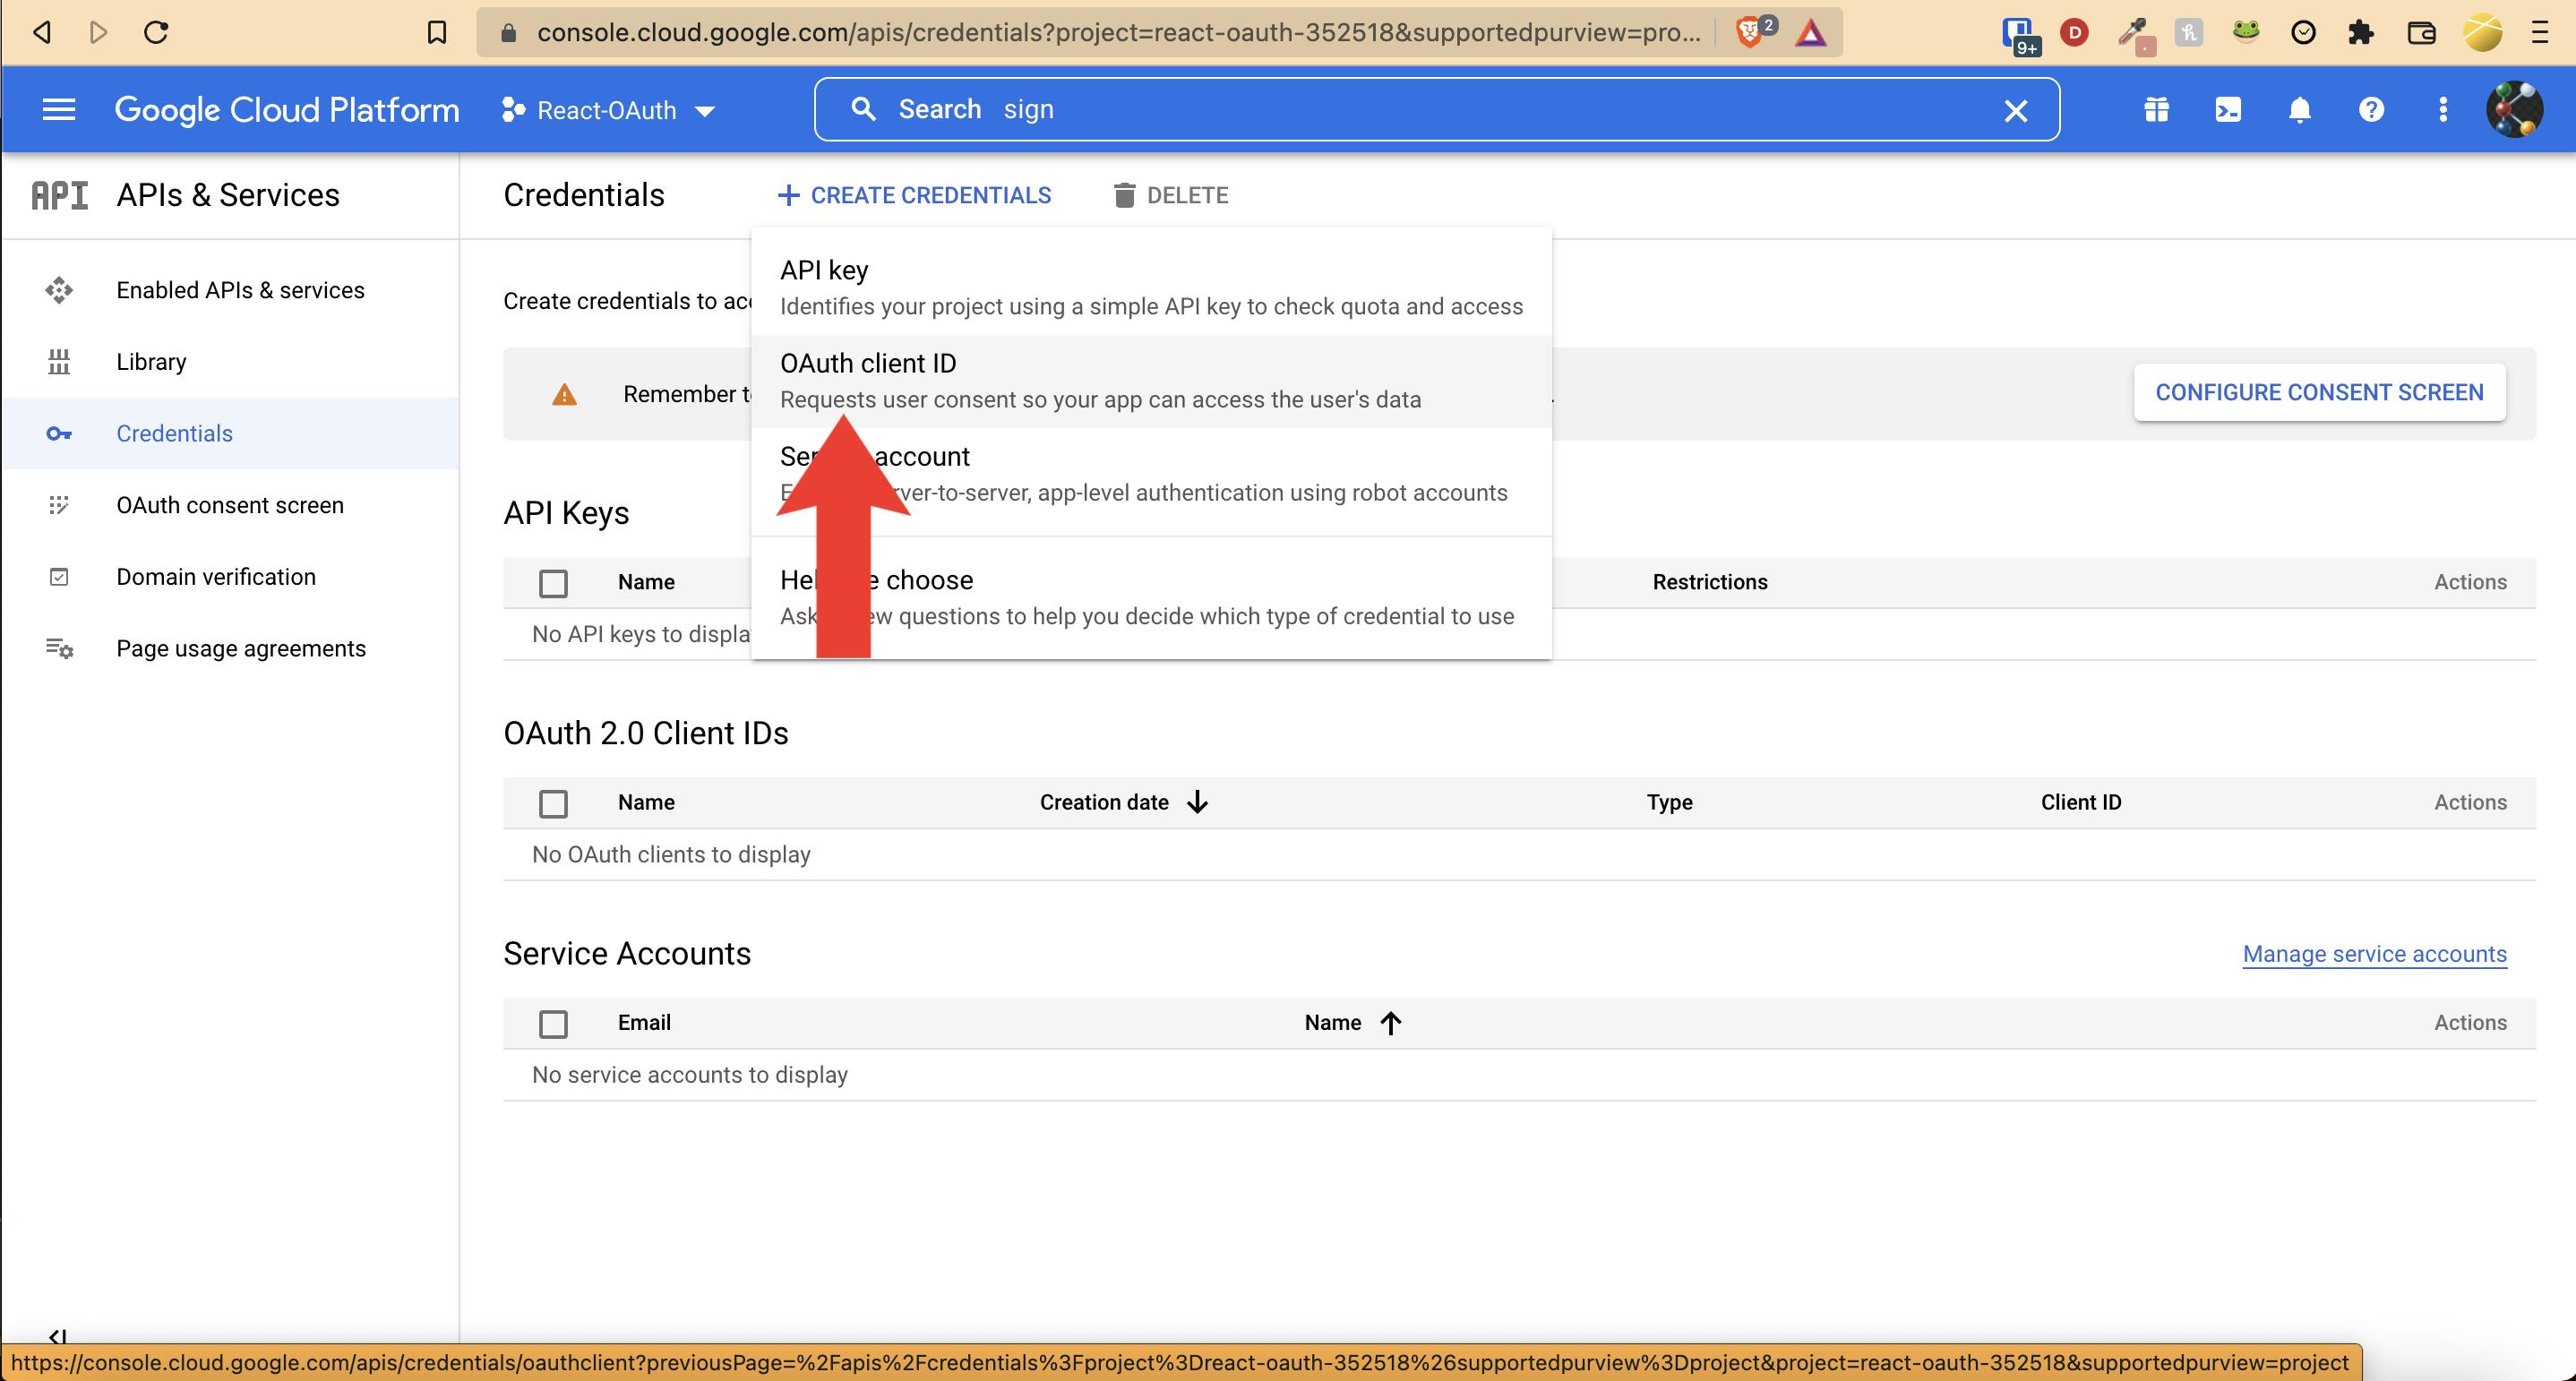
Now let's go create a Google Application to get an API to link our OAuth Sign-In buttons linked up. Go to the GCP Console and on the left-hand side go to APIs and Create a Project. If you can't find the place you can use this link.
You should be on this page now:
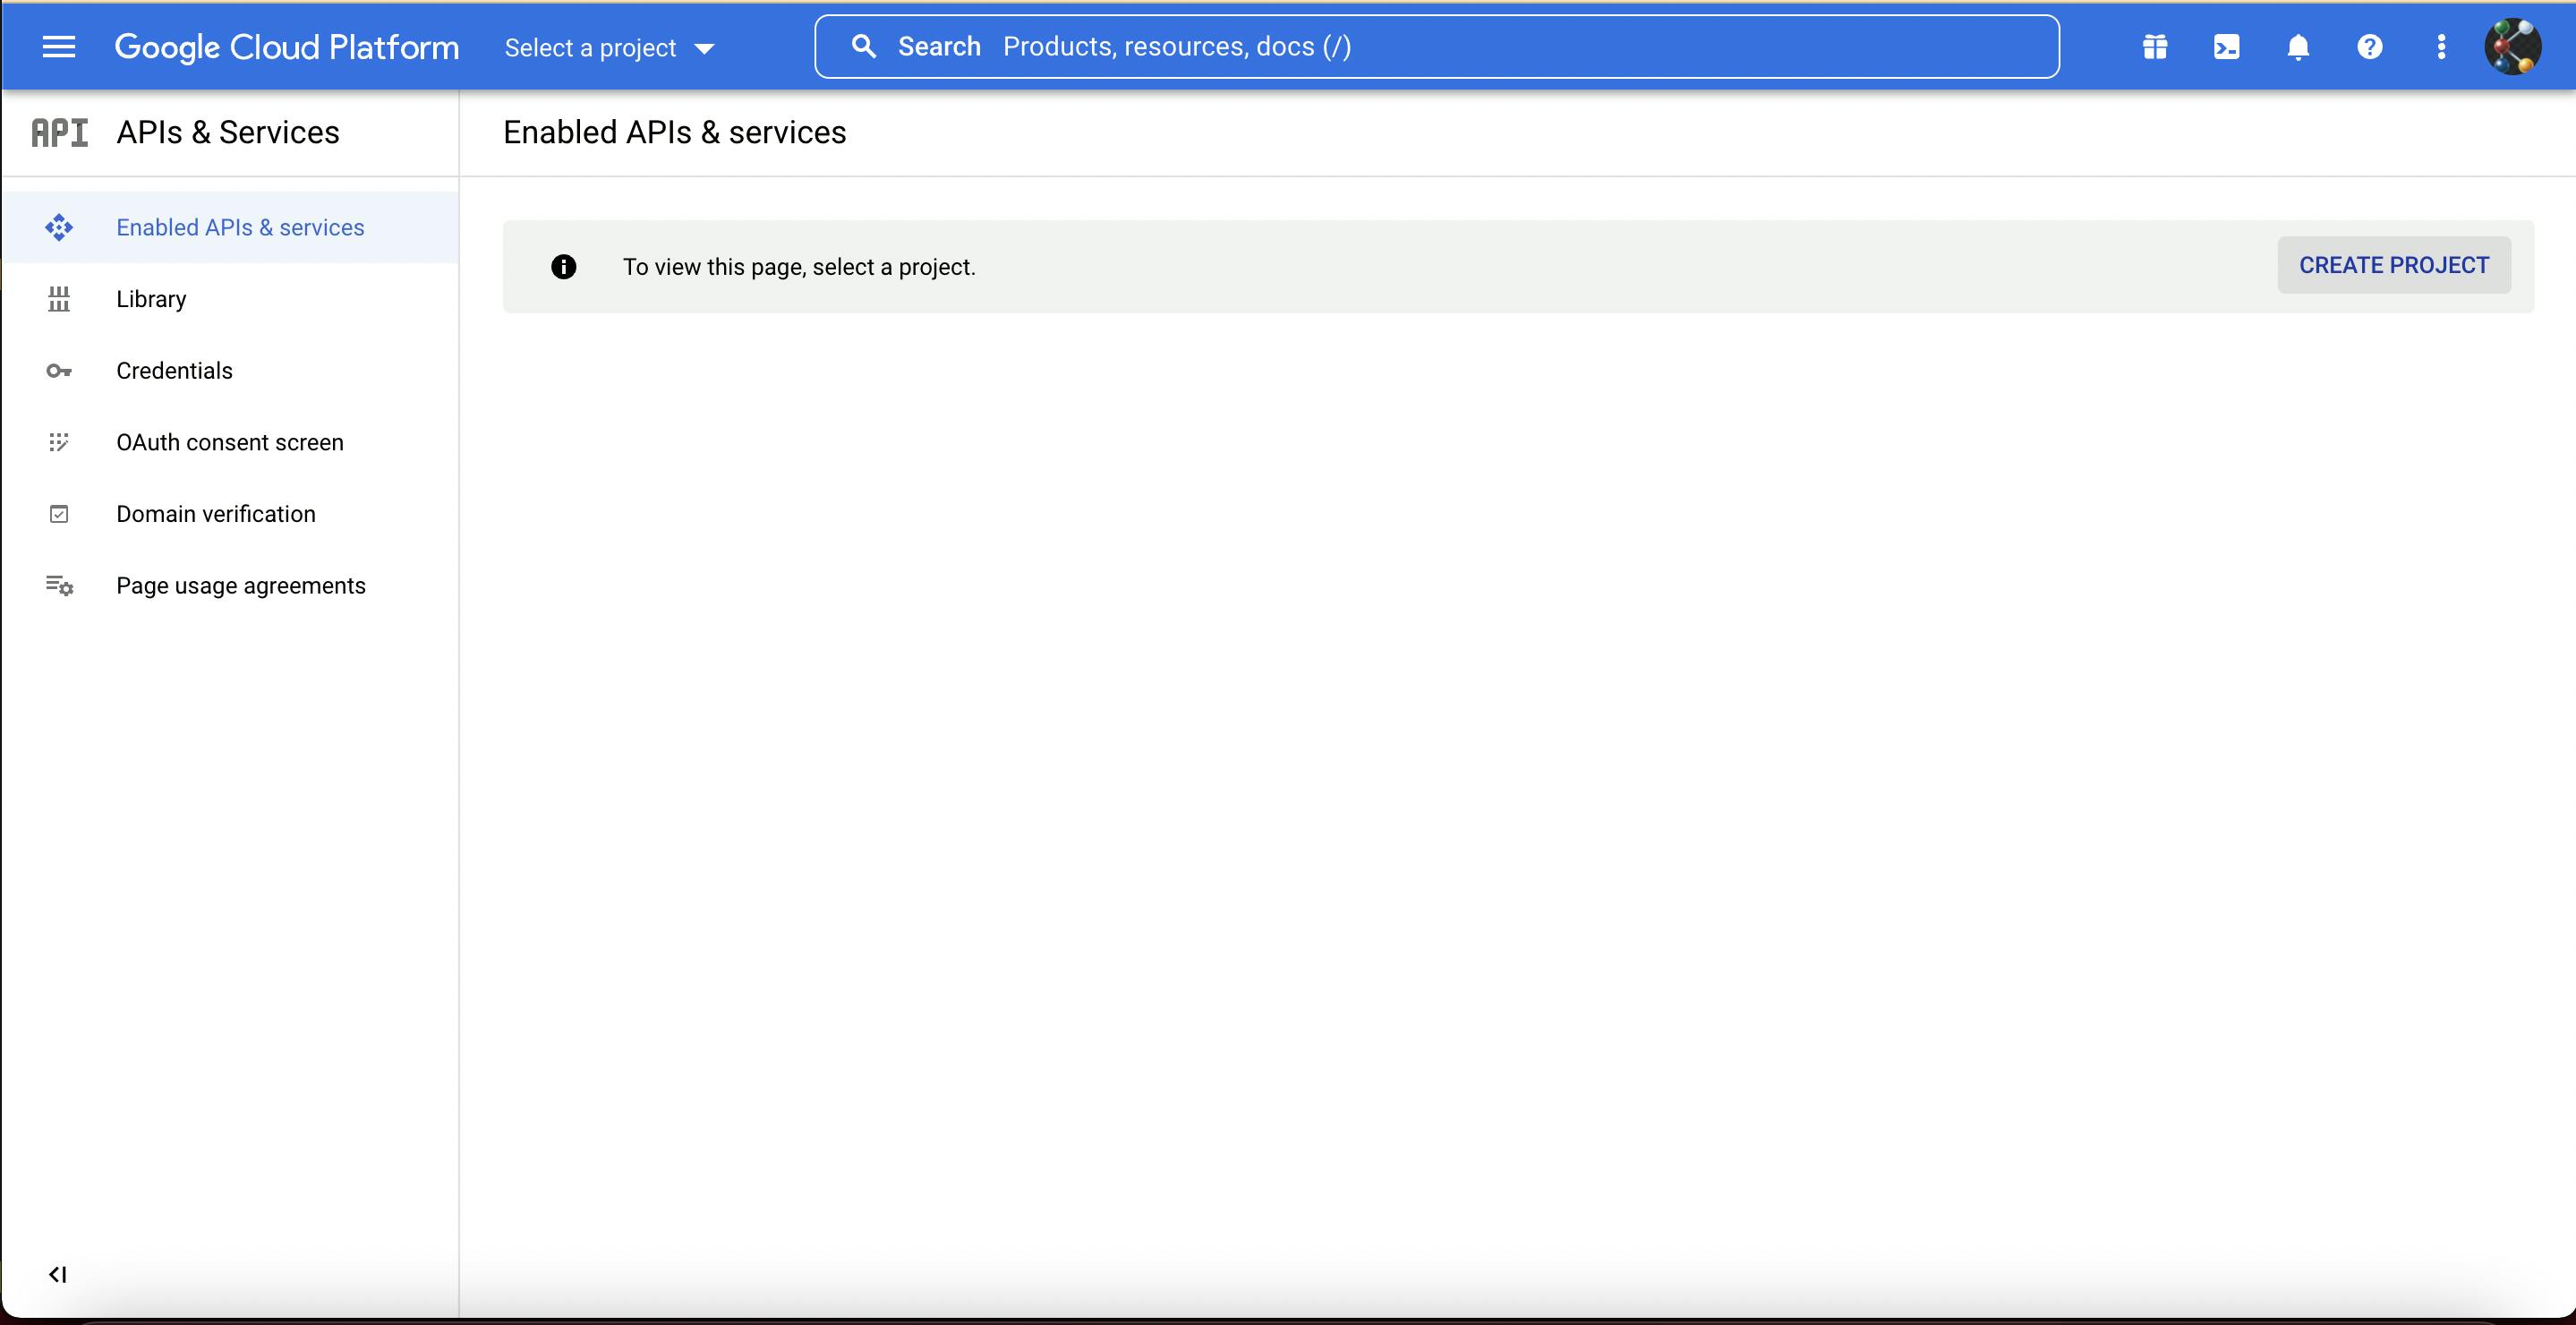
After clicking the Create a Project button just go fill in a Project name and click Create. There's no need to specify a Location/Organization.
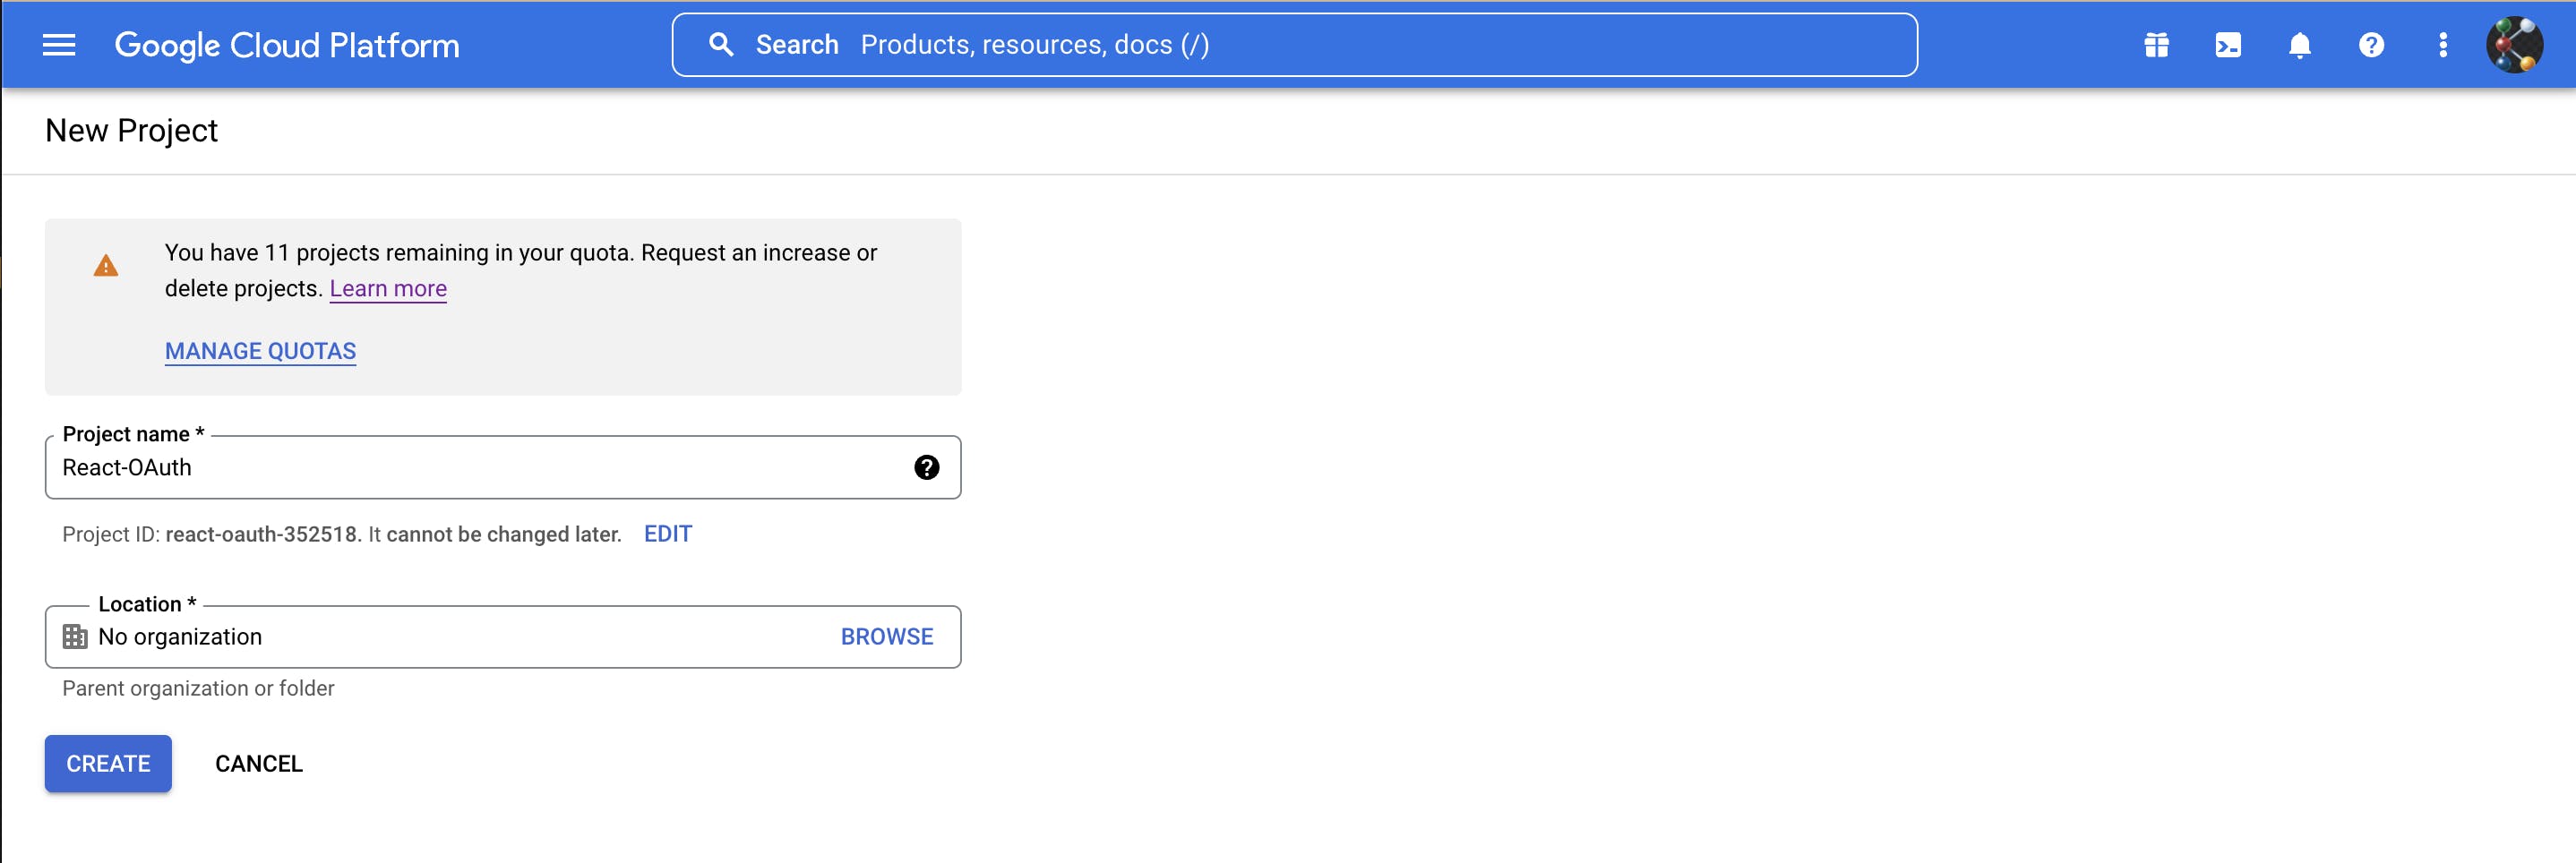
Wait a few moments and the project should be created.
First thing we have to do is create an OAuth consent screen, or the screen users will see before they agree to use their Google account to sign into your service. Simply navigate to that tab on the left sidebar.
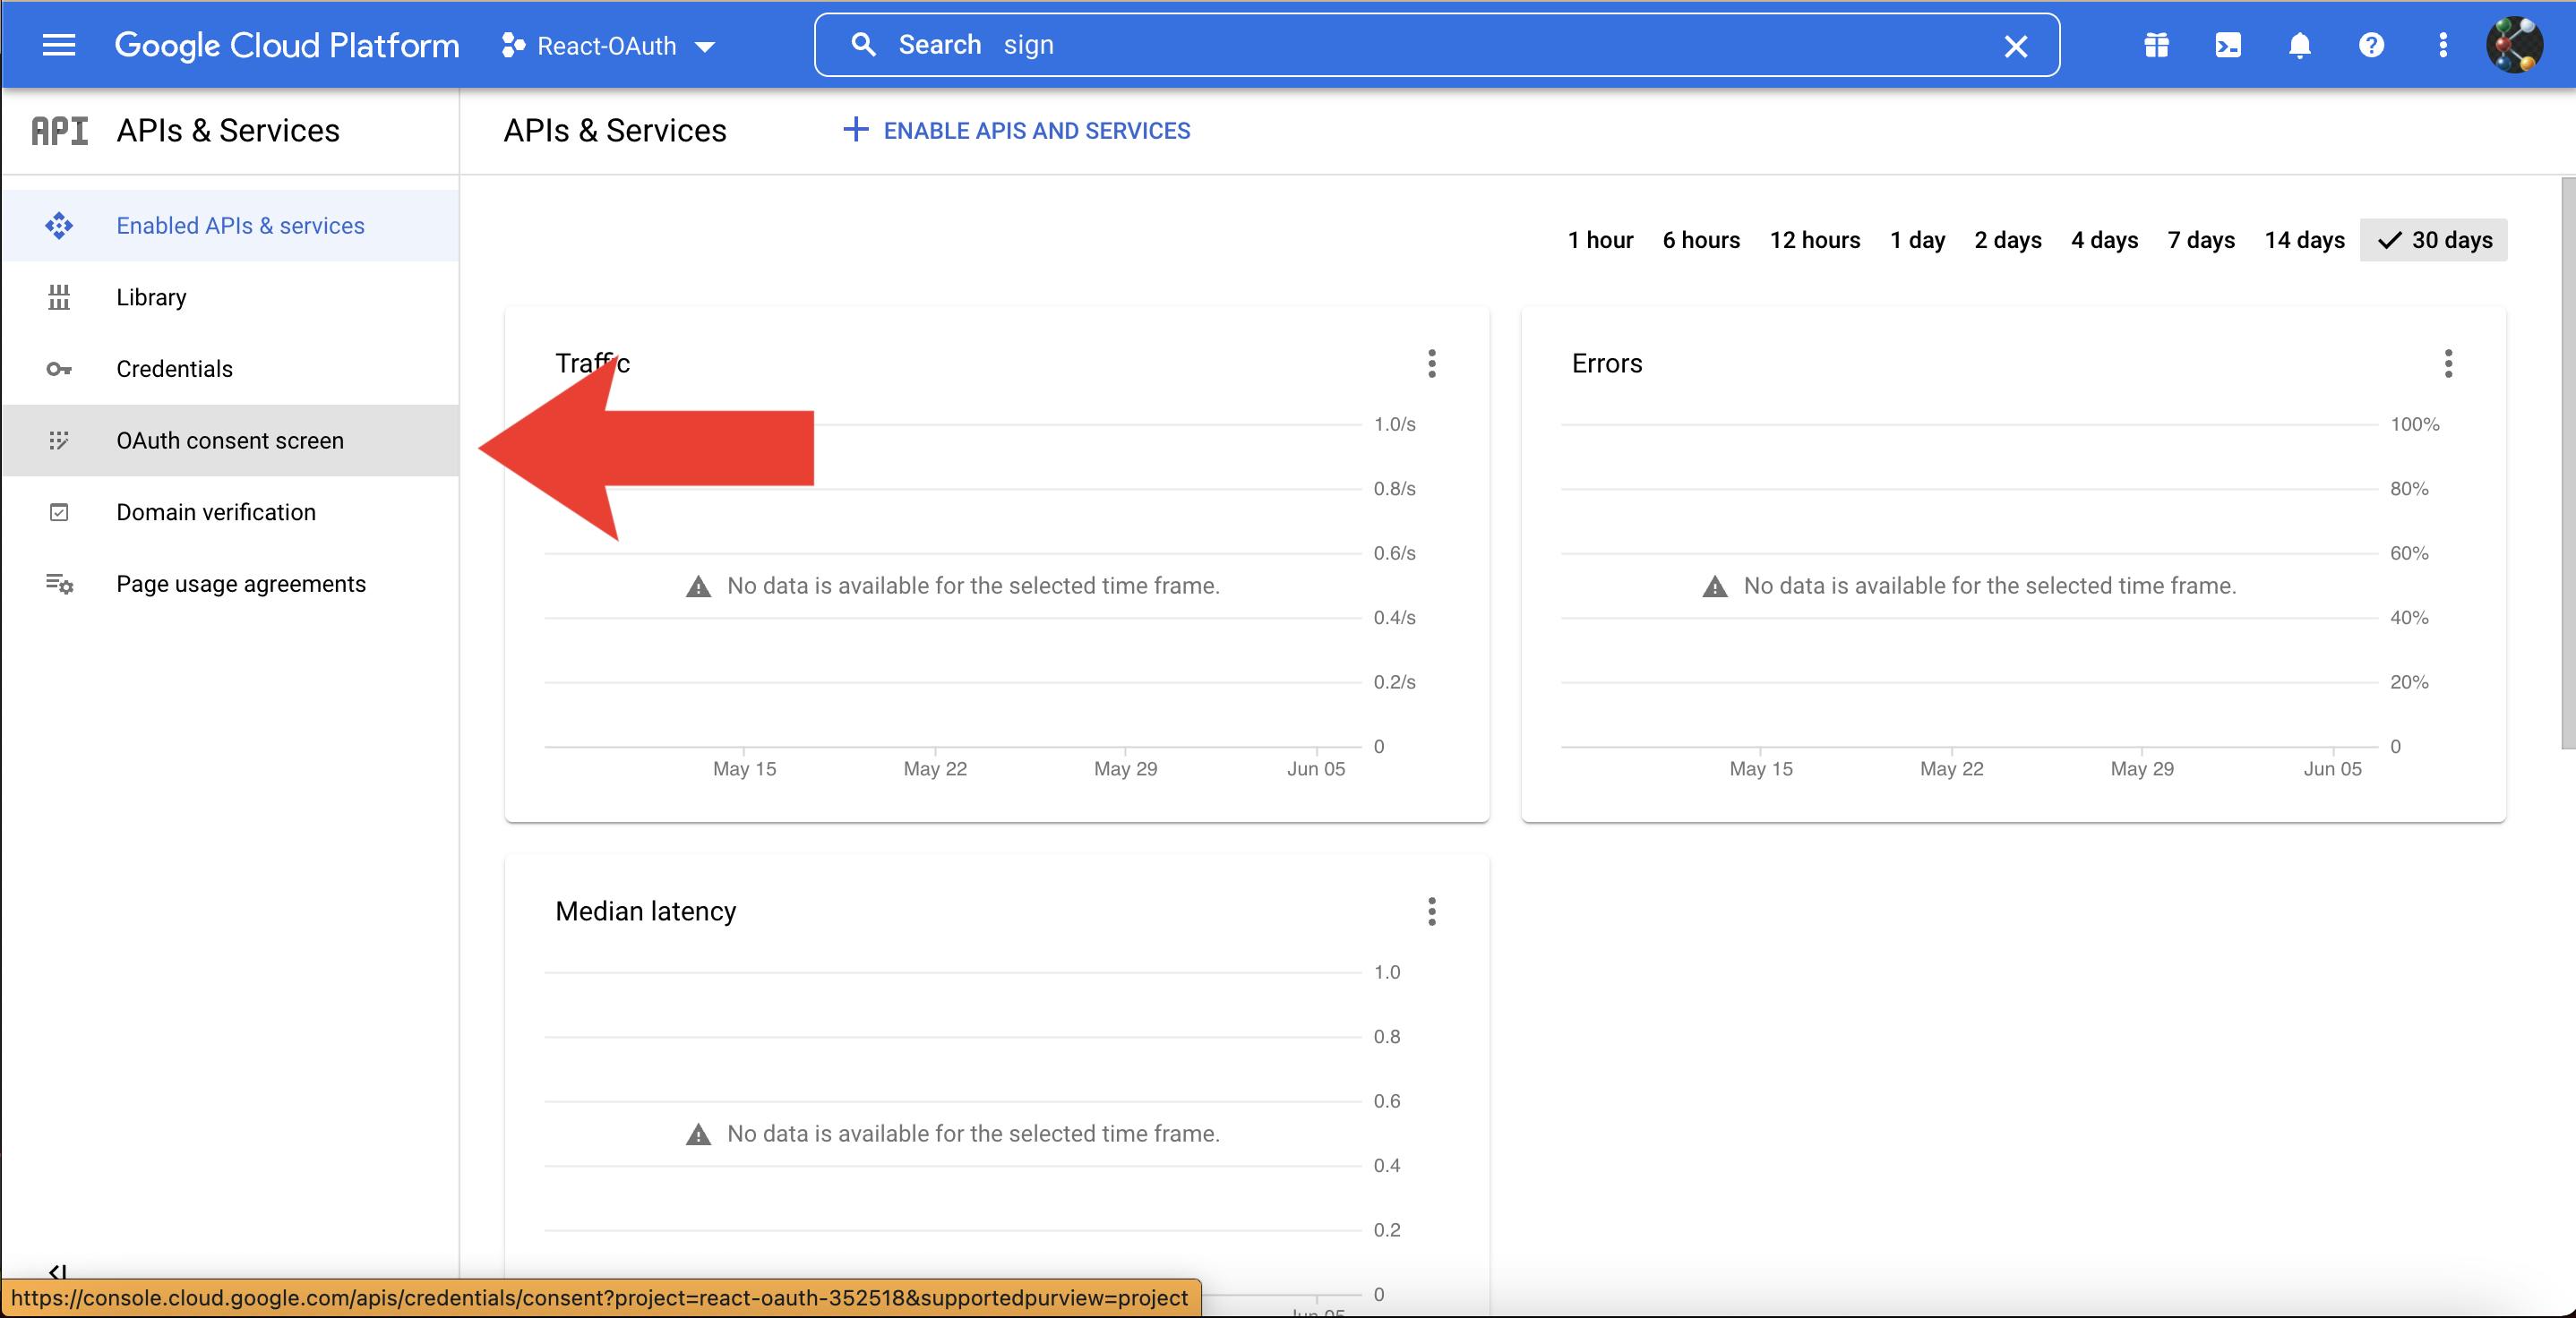
Follow their instructions on first creating an OAuth consent screen. For my User Type I will be selecting External so anyone can register for an account. For App Name, since this is a Tutorial Application I'll be calling mine "React-Google-OAuth". I'll add in my profile picture as an optional App logo.
Below it asks for an App domain. If you have one that's great, but since I'm developing locally on localhost:3000 without an associated app domain for this tutorial I will be keeping the App domain and Authorized domains section empty for now.
For the next section they want me to look through the Scopes (which I won't be touching), adding Test users which I will also not touch, and then click Back to Dashboard after reviewing the summary.
Next up go to Credentials on the left sidebar in APIs & Services and then click on the Create Credentials button near the top bar.
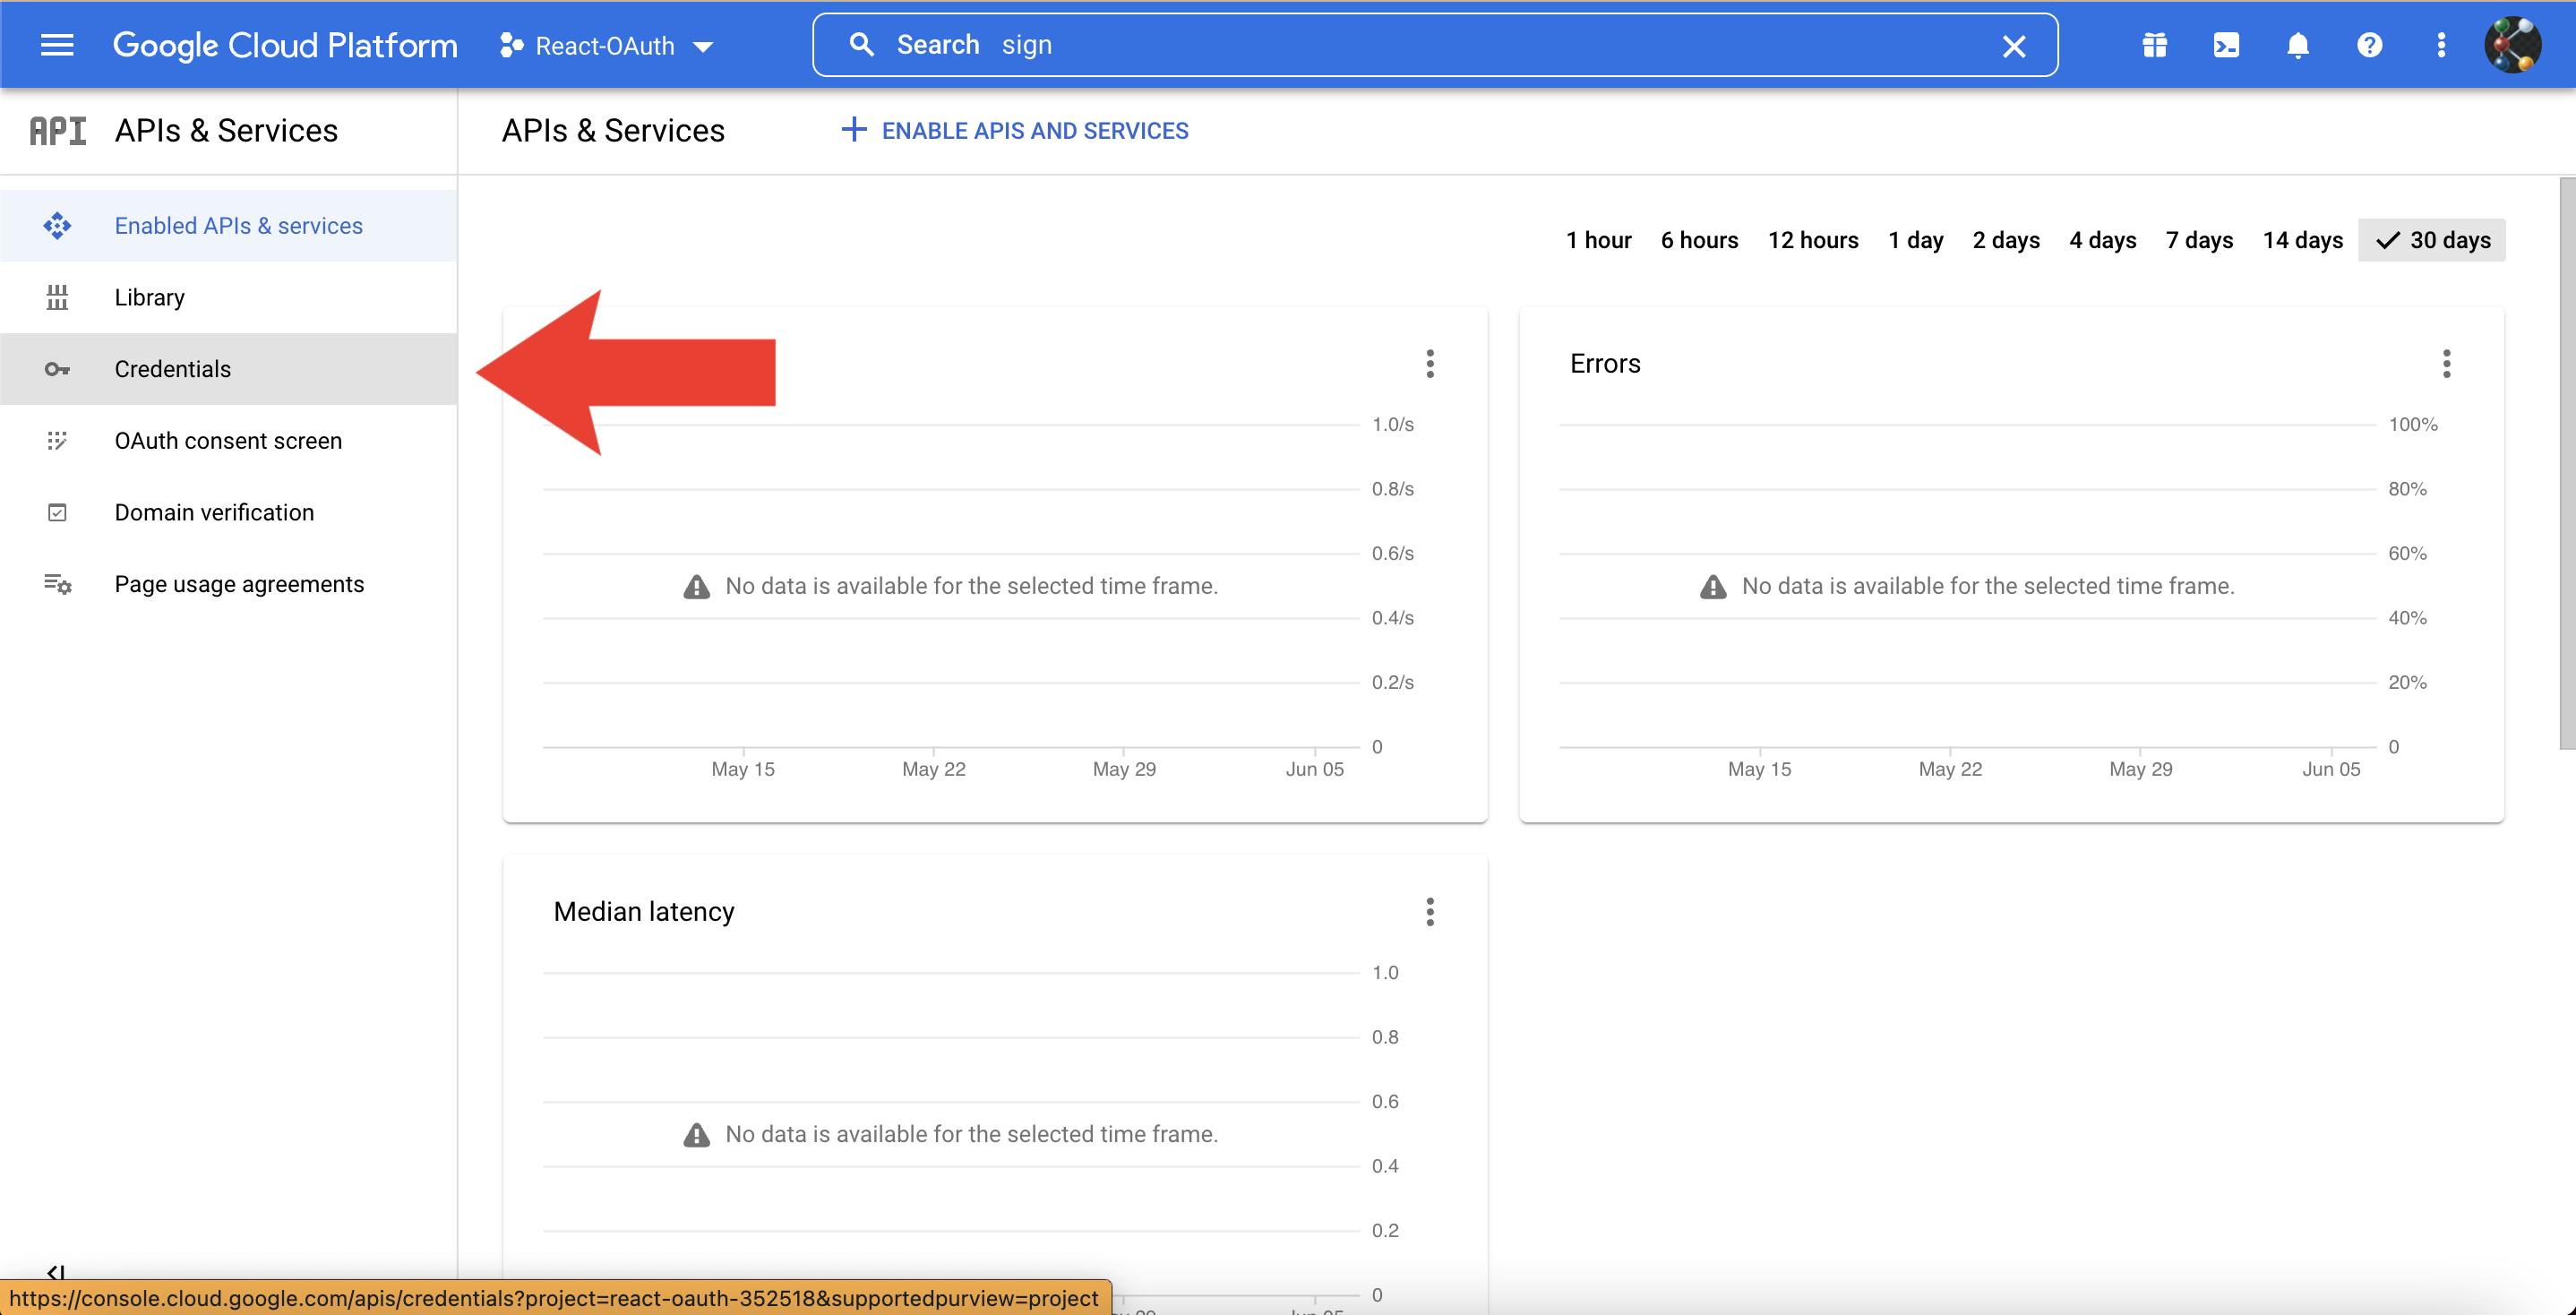
We should specify our application type to be a Web application. I'm naming mine React-OAuth, name yours as you see fit. Finally, below you see Authorized JavaScript origins. Here we have to allow our development environment with localhost.
We will be adding two URIs, http://localhost AND http://localhost:3000 since 3000 is the default port for a React application.

Then we click create. Jot down your Client ID and Client Secret as you will need these later on. I'll be putting them straight into an .env file.
Reminder: If you are using an .env file please make sure it's in the .gitignore and you're not pushing them out.
That's enough GCP for now let's go back to the React.
Let's first wrap our application in a specifying the clientId which I'll be doing in App.
Note: For starters I'll be clearing out the original code and just putting in mine. You can simply add on to your existing project
src/App.js
import "./App.css";

import { GoogleOAuthProvider } from "@react-oauth/google";

function App() {
    const clientId = process.env.REACT_APP_GCP_OAUTH_CLIENT_ID;

    return (
        <>
            <GoogleOAuthProvider clientId={clientId}>
                <div className="App">
                    <h2>I love coding</h2>
                </div>
                <Profile />
            </GoogleOAuthProvider>
        </>
    );
}

export default App;
Note: If you are keeping your client ID in your environment variable, you have to set its name to start as REACT_APP in front (as a security measure to prevent accidental leaking of environment variables to the client) as I did here.
Next up I'm going to create a components folder in src and create a Profile.jsx. Let's create (import) the sign-in button
src/components/Profile.jsx
import { GoogleLogin } from "@react-oauth/google";

const Profile = () => {
    return (
        <GoogleLogin
            onSuccess={(credentialResponse) => {
                console.log(credentialResponse);
            }}
            onError={() => {
                console.log("Login Failed");
            }}
            useOneTap
        />
    );
};

export default Profile;
Note: I am using the new One Tap Login System where if users have do not have an account the login process will automatically create an account for them.
Now simply go into App.js, import our new Profile component with
import Profile from "./components/Profile";
and at the bottom of our div block with our h2 text let's put in our component.
Now lets run our React App npm run start and it should look like this
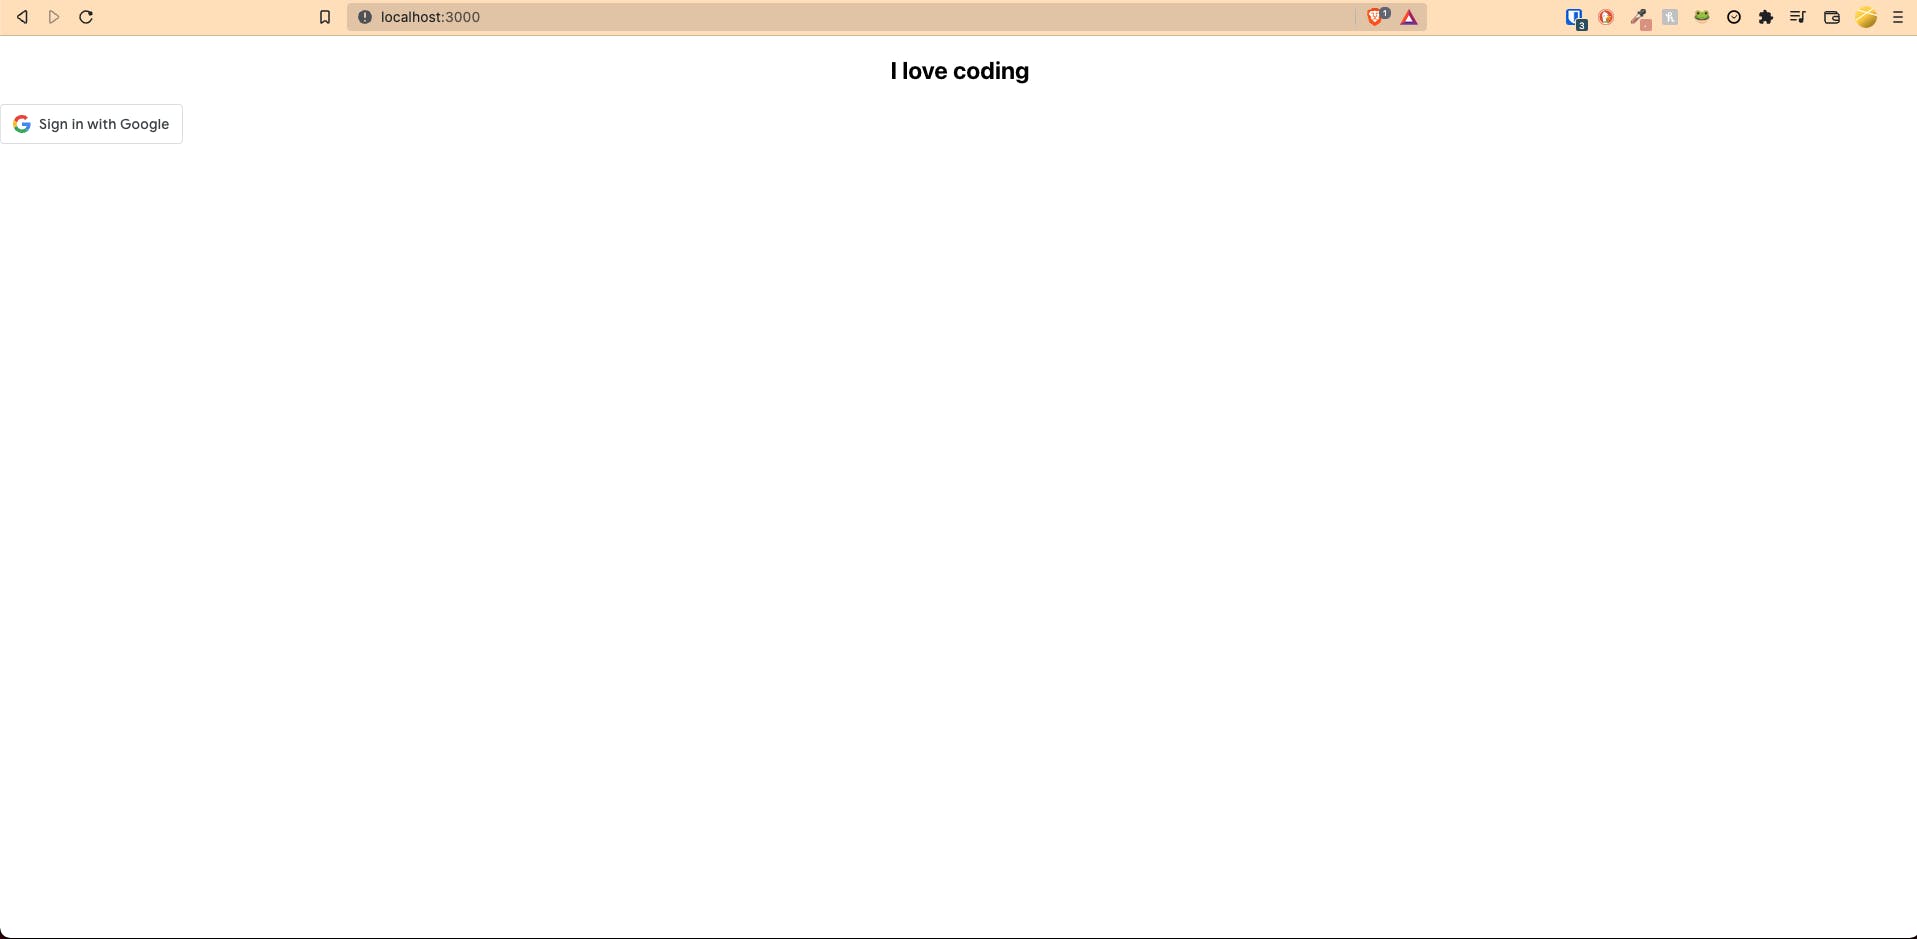
Beautiful. Absolutely stunning.
Don't worry if it doesn't look like this and the button is super long for some reason. At first my website wasn't working for a bit due to my Google ClientID was not being sent at runtime (More reading option here). For some reason just letting my code sit for like two minutes made it work. If it still doesn't work just don't use an environment variable and hardcode in your OAuth Client ID.
And boom! Why don't you try logging in, refresh your screen and see your account pop up.
That'll be it for now. If you want access to the user's information you're going to have to set up a server and have all of those communications working which I will have outlined in a future blog post :)
Happy Hacking! 🥳💻